
In a water purification system, a pre-filter is an essential component that traps large contaminants before the water flows through the main filter system. This protective element significantly extends the life of your main filter, improves overall water quality, and saves you money in the long run. For most residential water purification systems, such as reverse osmosis systems, a pre-filter is not an option but a necessity.
What are the benefits of a pre-filter for your water purifier?
A pre-filter, also called a PRE-filter, offers several important benefits for your water purification system. The most obvious advantage is the protection of your main filter . By capturing larger particles and organic contaminants early on, the pre-filter prevents these contaminants from reaching the sensitive membrane of your main filter. This is crucial for reverse osmosis systems like our The Source, as the membrane has very fine pores that can easily clog.
A properly functioning pre-filter significantly extends the life of the main filter . In practice, this can extend the replacement frequency of the expensive reverse osmosis membrane by months or even years. This results in immediate cost savings, as these membranes are typically the most expensive component of the filter system.
In addition, a pre-filter contributes to better water quality . By removing larger particles first, the main filter can focus entirely on filtering smaller contaminants. This results in purer water with a fresher taste, which is noticeable when drinking and preparing beverages like coffee and tea.
What types of pre-filters are available?
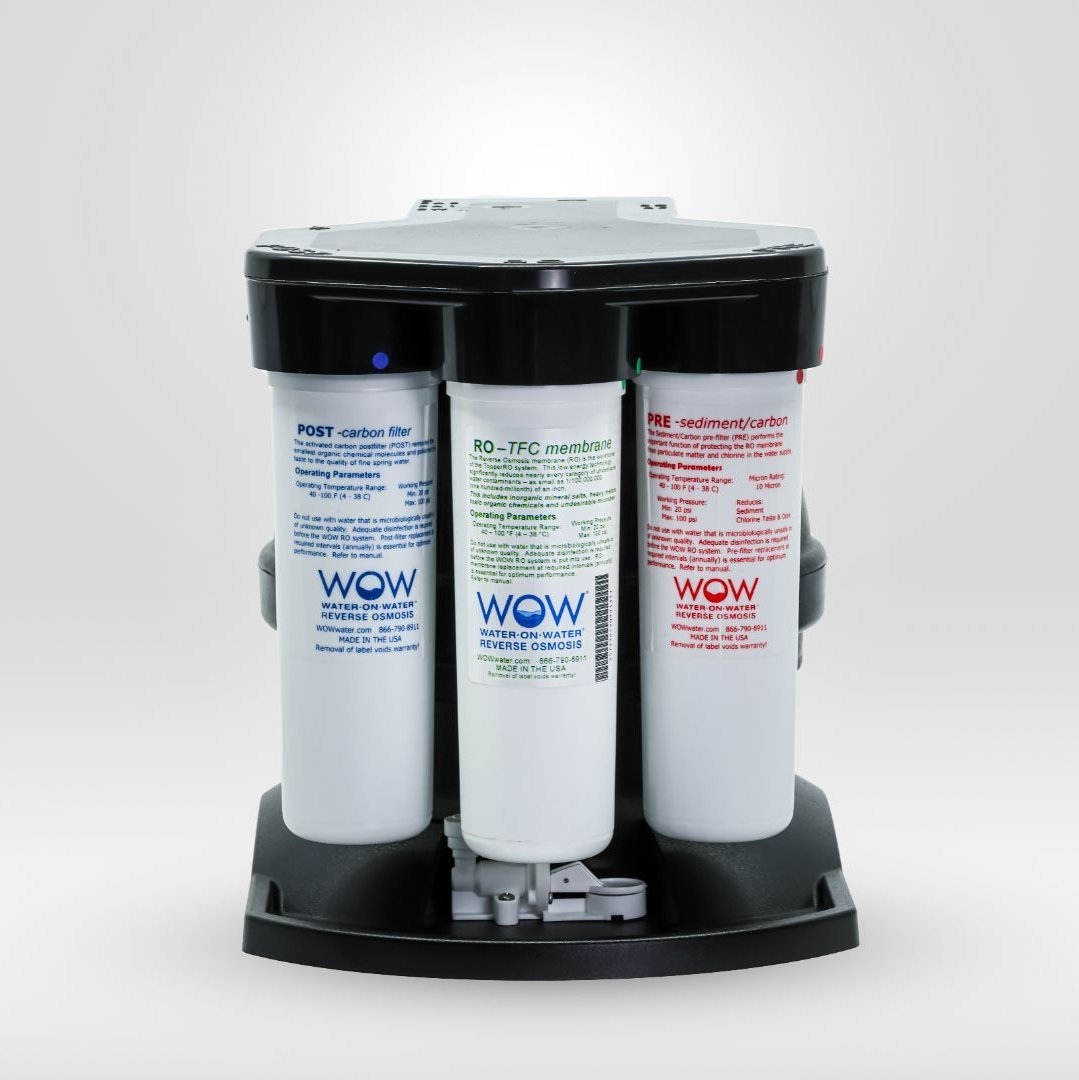
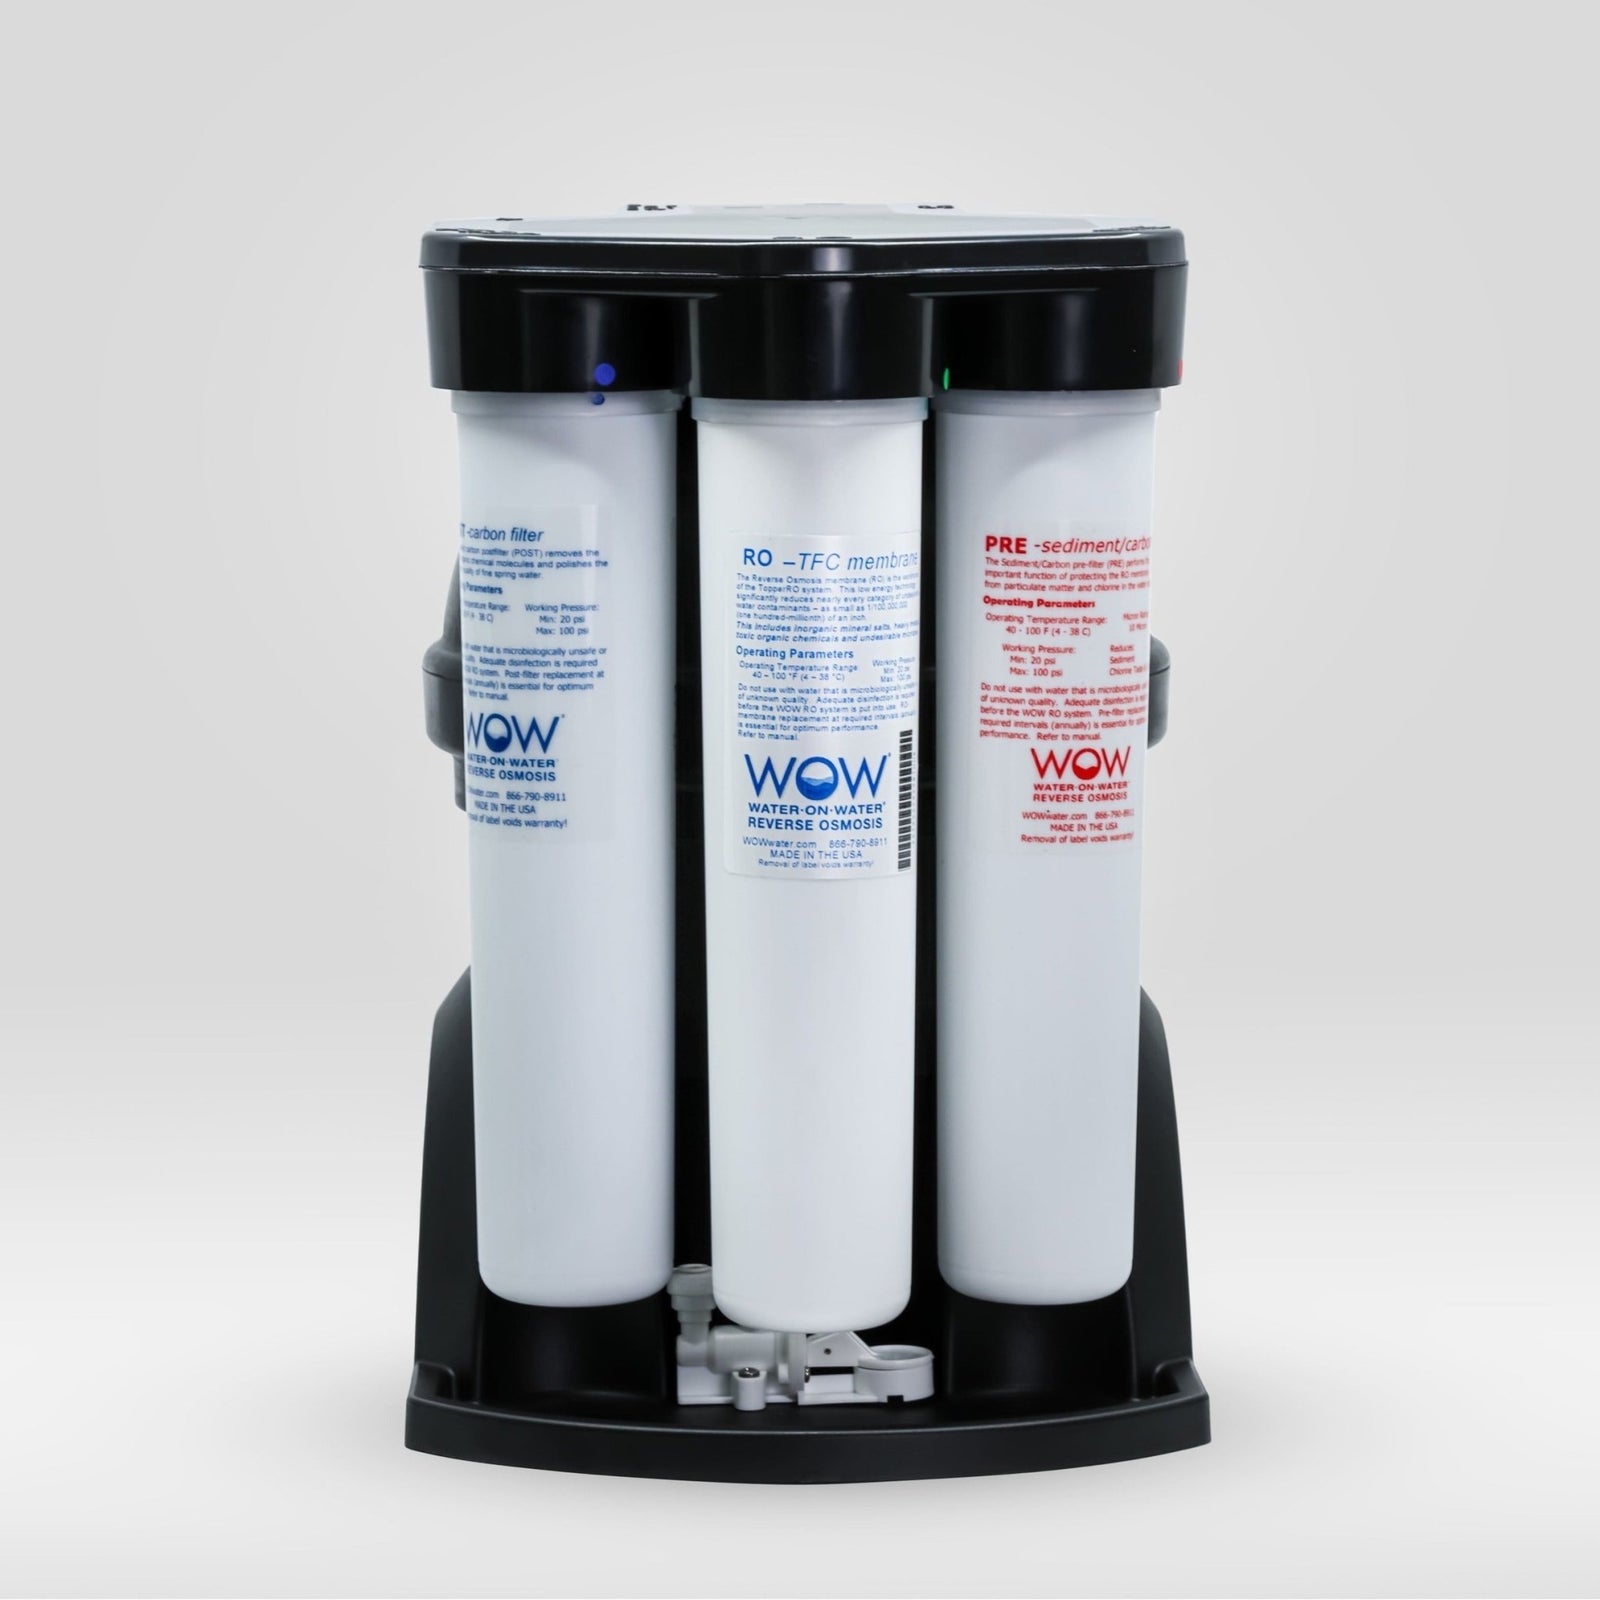
There are several types of pre-filters, each with specific properties and applications. Sediment filters are the most common type of pre-filter and remove physical particles such as sand, rust, silt, and other suspended matter from the water. These filters are available in various fineness ratings, measured in microns. The lower the micron rating, the finer the particles retained. For residential use, sediment filters between 5 and 20 microns are usually sufficient.
Activated carbon filters are another important type of pre-filter. These filters not only remove physical particles but also absorb dissolved chemicals such as chlorine, pesticides, and organic compounds that affect taste and odor. In our The Source system, we use an activated carbon filter as a pre-filter to remove both larger particles and chemical contaminants, significantly extending the life of the reverse osmosis membrane.
Antimicrobial filters are specialized pre-filters that trap bacteria and other microorganisms. These are especially useful in situations where the water may be biologically contaminated. They provide an extra layer of protection against pathogens before the water reaches the main filtration system.
When choosing a pre-filter, it's important to consider the specific water problems in your home. Are you experiencing rust particles? Then a sediment filter is ideal. For taste or odor issues, an activated carbon filter will perform better. For optimal results, you can combine different filter types in a multi-stage water purification system.
How do you install a pre-filter in your existing water system?
Installing a pre-filter is usually a relatively simple process, even for those without extensive plumbing skills. Start by turning off the water supply to the area where you plan to install the filter. Make sure you have a bucket and towels handy to catch any leaking water.
For installation you will need the following materials :
- The pre-filter housing with filter cartridge
- Teflon tape for screw connections
- Adjustable wrench or filter wrench
- Mounting brackets (if the filter is mounted on the wall)
- Flexible water hoses of the correct length (if required)
The optimal placement of your pre-filter is as close as possible to the water entry point into your home, but before your water purifier. In a reverse osmosis system like The Source, the pre-filter is usually placed directly before the membrane. When installing, pay attention to the water flow direction—most filter housings have arrows indicating the correct direction.
After installation, it's important to check the system for leaks . Slowly turn on the water supply and check all connections. It's normal for some air to initially remain in the system, causing the water to appear cloudy. Let the water run for a few minutes to remove the air and rinse the filter.
Don't forget to maintain a regular maintenance schedule . Depending on your water usage and water quality, a pre-filter typically needs to be replaced every 3 to 6 months. Doing this regularly ensures optimal performance of both your pre-filter and your main water treatment system.
With a properly installed and maintained pre-filter, you'll find your water purification system works more efficiently, lasts longer, and ultimately produces purer water—an investment that quickly pays for itself in both water quality and cost savings.