Reading time: approximately 13 minutes
Quick answer
A reverse osmosis system is installed under your sink. The system taps into the cold water line, discharges waste water into the siphon, and delivers pure water via a dedicated tap with a separate channel. At PureAqua, such an installation takes 1 to 1.5 hours. You are allowed to install it yourself, provided that your installation meets the NEN 1006 standard.
In this article
- What is a reverse osmosis system?
- What you need under the sink
- Installing reverse osmosis, step by step
- How long does it take and what does installation cost?
- Do it yourself, hire a specialist, or connect nothing
- Six pitfalls that can ruin an installation
- Rules and safety: NEN 1006 and backflow
- After installation: flushing and maintenance
- Frequently asked questions
- Conclusion
What is a reverse osmosis system?
Anyone searching for "reverse osmosis system" in the Netherlands will mainly see industrial boilers and wholesale categories. For a home kitchen, it involves something much smaller: a cabinet with filter holders that hangs or sits in the back of your undersink cabinet, plus thin 6 to 8 mm piping leading to its own tap point. It is not a job that replaces your water pipe, but rather branches off from it.
Definition
A reverse osmosis system is the assembly of filter holders, a membrane, piping, a tap, and a drain connection that allows tap water to be forced through a semipermeable membrane under pressure. The purified portion goes to the tap point, and the leftover dissolved substances go with waste water to the siphon.
The performance of such a system is standardized. The international standard for household osmosis systems is NSF/ANSI 58, and that standard concerns not just the membrane, but the system as a whole: pressure, temperature, and the state of the pre-filters all help determine what finally comes out of your tap. This is precisely why the installation is not a side issue. An excellent membrane behind a poorly connected pipe will still result in disappointing water. If you want to know first which filter stages make up such a system, read that article first and come back here for the assembly.
At PureAqua, we find that people overestimate the difficulty of the installation. Most kitchens are suitable for it without any modifications. The questions that really matter are: is there a free tap hole, does the system fit in the cabinet, and is there a cold water tap and a siphon within reach.
Are you unsure if your kitchen is suitable?
Send us a photo of the space under your sink, and we will tell you in advance what will and won't fit.
Ask for free advice View pure water tapsWhat you need under the sink
Four things determine whether an installation will go smoothly. Check them before you order anything, as all four are visible without tools.
1. A cold water connection with sufficient pressure
The membrane works on line pressure. Dutch drinking water companies provide more than enough: PWN cites a minimum of 200 kilopascals on the ground floor, about 2 bar. That is enough for a household osmosis system. Living on a high floor, having a long supply line, or an already present water softener can take away from that: Evides accounts for a pressure loss of about 70 kilopascals (0.7 bar) for a water softener installation with the required safety measures. If you already have such a device installed, please report it in advance.
2. Space in the cabinet, also next to the system
An undersink system hangs or sits in the back, but you need to be able to reach it twice a year to change filters. So, don't just count on the size of the unit itself, but also on a hand's width of working space around it. In practice, cabinets full of trash bags and cleaning supplies are more often the problem than the actual size of the system.
3. A drain for the waste water
An osmosis system always requires a drain, because the retained substances have to go somewhere. In the kitchen, that's a saddle valve on the sink's siphon. That is immediately the big difference compared to a filter pitcher or carbon filter, and it is the reason you don't just place an osmosis system in a cabinet without a drain. The same issue applies to a water softener, which we discussed in more detail regarding placement in the meter cupboard.
4. A tap hole or a tap that already has the channel
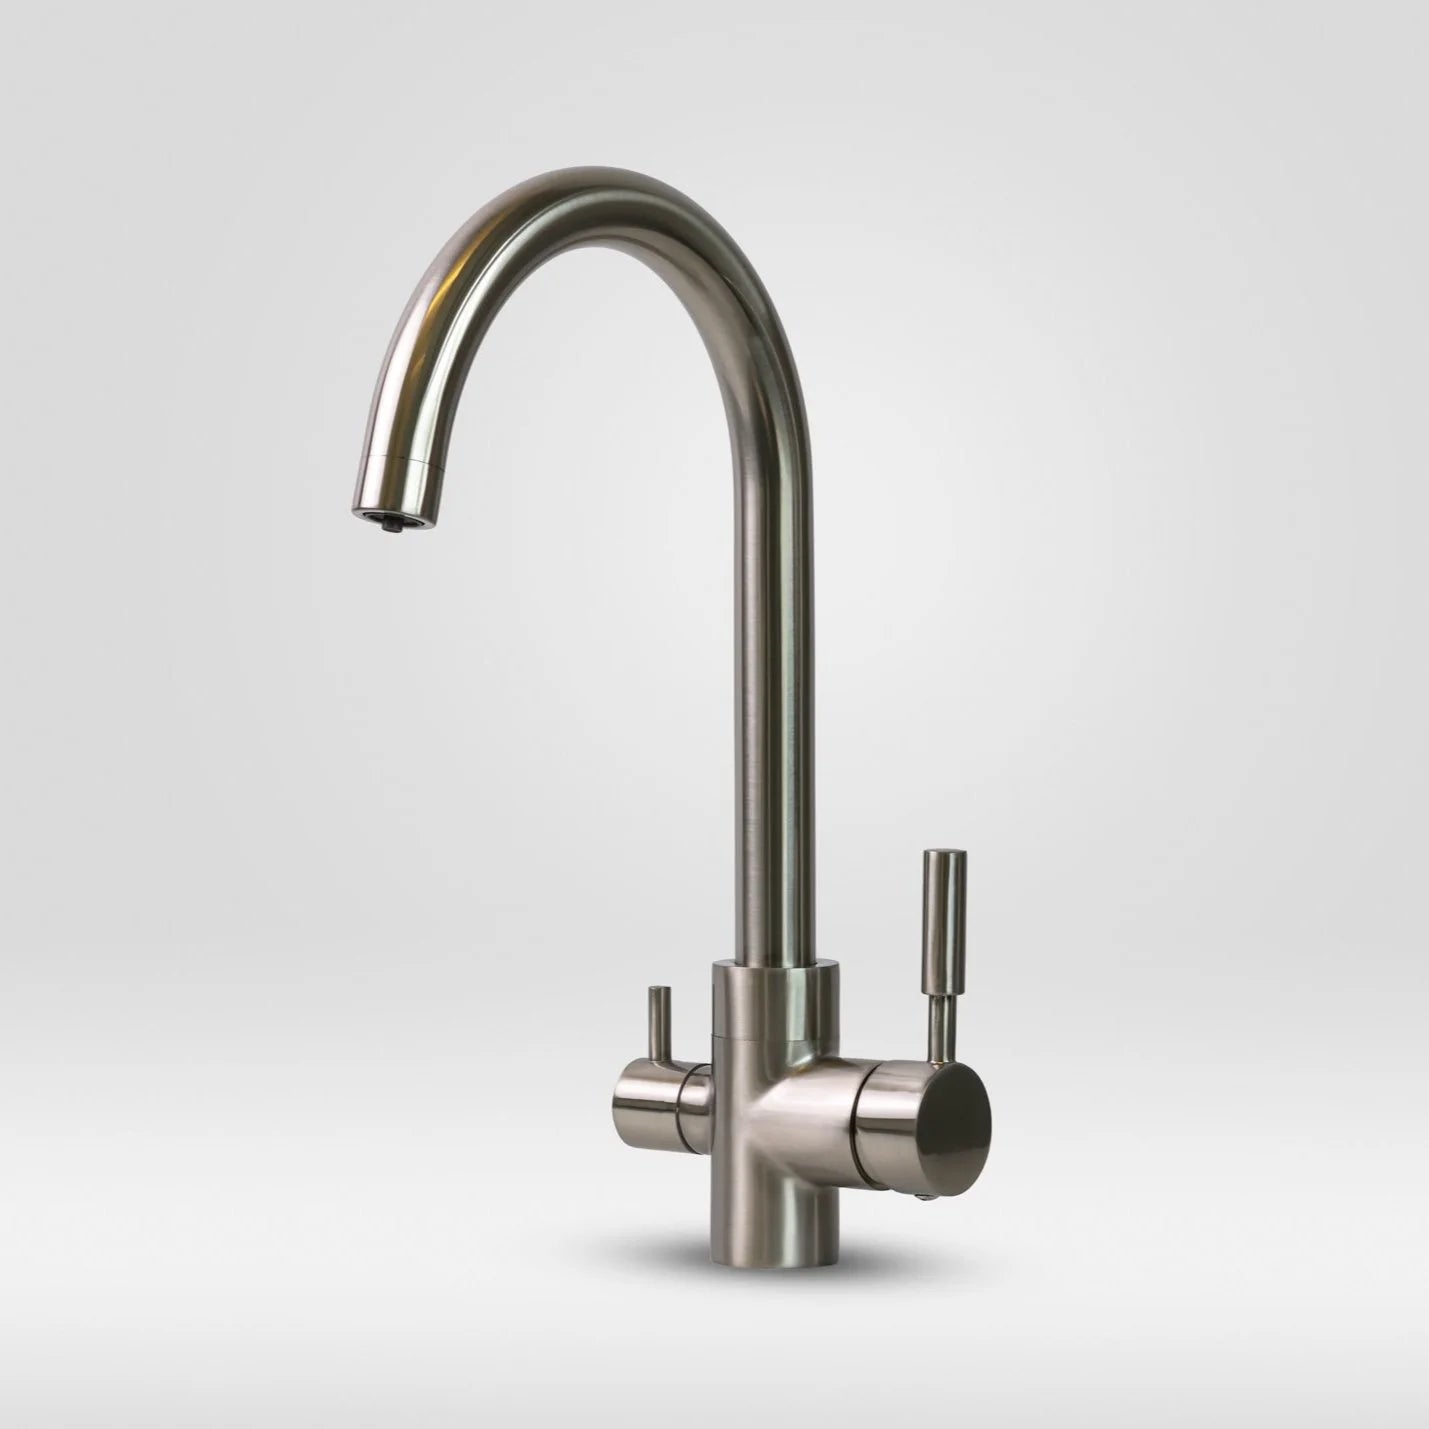
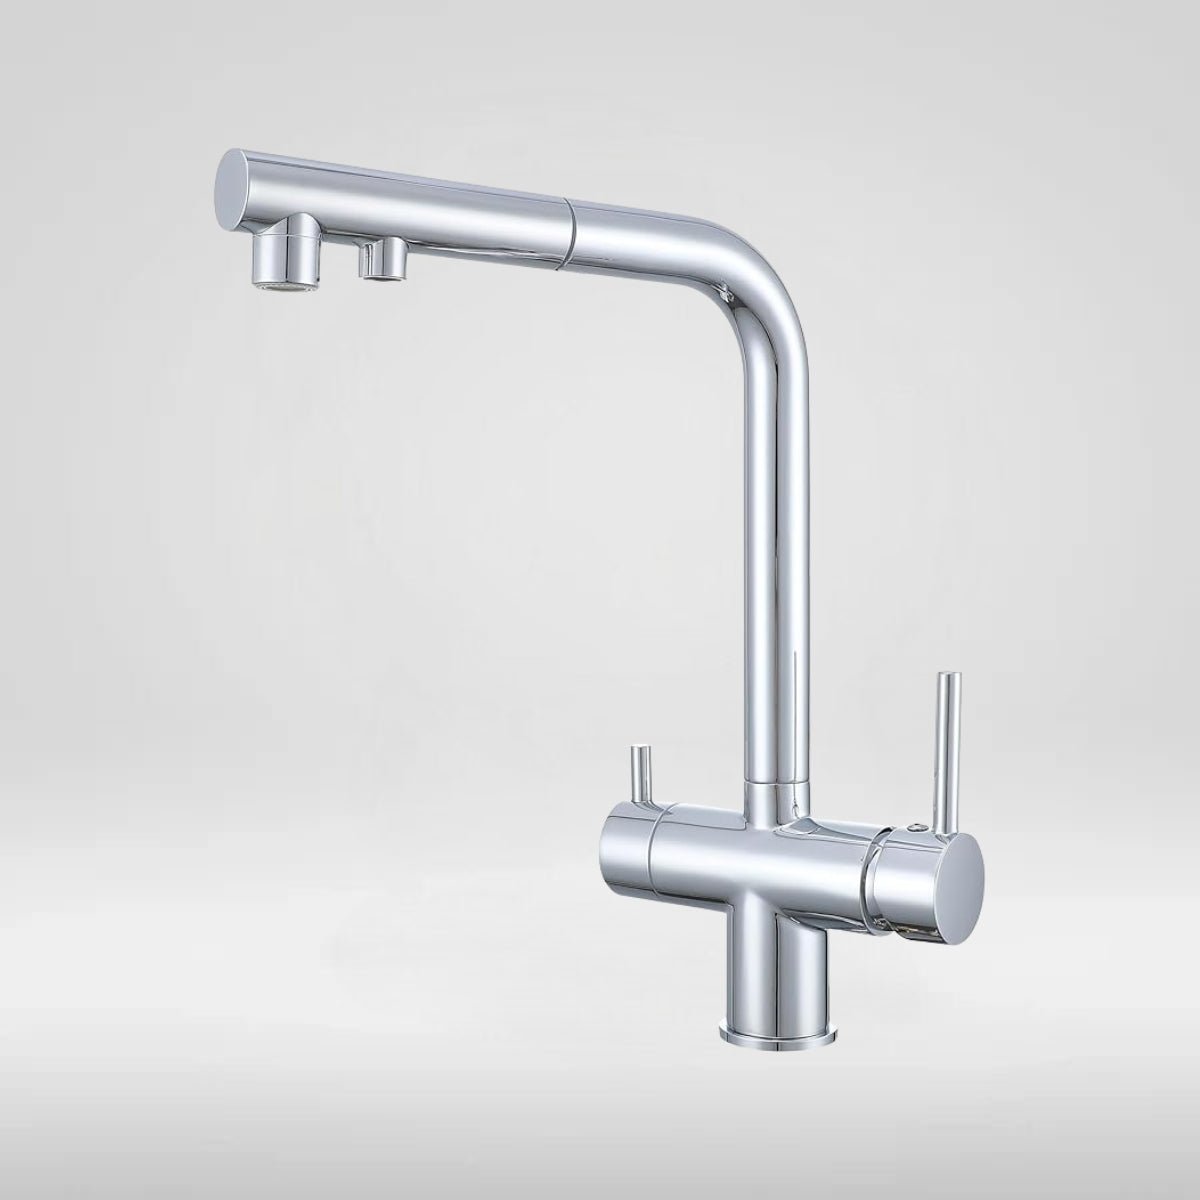
Pure water never runs through the same pipe as your warm mixed water. It gets its own channel so that nothing mixes and no stagnant water remains in the filter line. For this, you need a 1-way tap next to your regular tap, or a tap that already has the channel built in, such as a 3-way tap or the 4-in-1 tap. We only install a 1-way tap if a 12 mm hole has been pre-drilled in the countertop. In granite or composite, that is a job for your kitchen supplier, not for the technician coming to connect your system. Why that separation is technically necessary is explained in our article about a dedicated tap point for filtered water.
Installing reverse osmosis, step by step
This is the sequence a technician follows. It applies both to an installation by a specialist and to a self-builder with an installation kit.
- Empty the cabinet and close the main shut-off valve: remove everything from the undersink cabinet and close the cold water valve under the sink. If it's not there, close the main shut-off valve. Then, drain the pipe by opening the kitchen tap.
- Branch off the cold water line: a T-piece with its own shut-off valve is installed between the corner stop valve and the flexible hose. This allows you to shut off the osmosis system later without draining your entire kitchen.
- Place the system: the filter block is mounted against the side or back wall, with the filter holders pointing downward or forward so you can unscrew them without dismantling the whole unit.
- Mount the pure water tap: the tap goes through the pre-drilled hole in the countertop and is secured from underneath. With a 3-way or 4-in-1 tap, this step is skipped because you use the existing tap hole.
- Connect the drain: a saddle valve with a small hole for the waste water hose is attached to the siphon. This connection is always located *above* the siphon's water trap, so that no dirty water can ever flow back into the hose.
- Connect the lines: the thin hoses go into quick-connect fittings. Push them in until they stop, then pull on them to check if they are secure, and fasten every connection with the supplied clip.
- Turn on the water and check for leaks: open the branch valve first, then the main valve, and let the system sit under pressure for ten minutes with a dry cloth under every connection. A leak that only appears after half an hour almost always occurs at a connection that wasn't fully pushed in.
- Flush and put into use: flush the system according to the manual before drawing the first glass. New filters can cause some carbon particle cloudiness, which simply needs to be flushed out.
Note for Quooker users: an osmosis system can be used with a boiling water tap, but only with a large pressure tank that maintains pressure after the membrane. That tank makes the installation more expensive and takes up more space in your undersink cabinet. The PureAqua system does not have that pressure tank and therefore does not combine with a Quooker. If you still want everything from one tap, choose the PureAqua 4-in-1 tap, which replaces the Quooker and operates on reverse osmosis itself.
How long does it take and what does installation cost?
A standard installation in a kitchen with a free tap hole takes 1 to 1.5 hours at PureAqua. That includes the explanation about use and maintenance. We ask customers to empty the cabinet beforehand, simply because it saves half the duration. If it takes longer, it is almost always due to one of three things: no tap hole, no accessible drain, or an undersink cabinet that still needs to be cleared out.
On the cost side, there are three routes. Connecting it yourself with a DIY installation kit costs 49 euros in materials, including John Guest quick-connect fittings and tubing. Installation by a PureAqua specialist is a service that we schedule per situation. And with the Carefree Pure Water subscription of 29 euros per month with a 299-euro start-up fee, the installation is simply included, along with the tap, the filter system, and a filter set for twelve months.
One cost that many people forget is the waste water. An osmosis system discharges a portion to the siphon for every liter of pure water, and that water is measured on your meter. It isn't expensive: according to Vewin, the drinking water rate in 2026 will be 2.05 euros per cubic meter excluding taxes, and 2.71 euros including taxes. A thousand liters of extra waste water therefore costs you less than three euros. Anyone who wants to see the full downside can find it in our overview of the objections against osmosis water.
Do it yourself, hire a specialist, or connect nothing
There are three ways to get osmosis water, and they primarily differ in how much you change your water installation yourself.
| What you are comparing | Install yourself | Installation by PureAqua | Countertop, connect nothing |
|---|---|---|---|
| What you need | DIY installation kit for 49 euros, tools, and a free tap hole | Only a cleared-out undersink cabinet | A power outlet and a spot on the countertop |
| Time | Half a day if it is your first time | 1 to 1.5 hours, including explanation | A few minutes, fill and turn on |
| Drilling into countertop | Yes, unless there is already a 12 mm hole | We only install a 1-way tap in a pre-drilled 12 mm hole | No |
| Connection to drain | Saddle valve on siphon, install yourself | Included in the installation | Not needed, you pour away the residual water |
| Risk of error | Leakage under a closed cabinet door, sometimes visible only after days | Leak check is part of the delivery | Virtually none, there is no pipe under pressure |
| For whom | Handy DIY enthusiasts with experience | Anyone wanting a fixed tap point without the hassle | Renters, temporary housing, and kitchens without space |
The no-installation route is structurally underestimated. A countertop osmosis device of 495 euros performs the same membrane filtration, but without the branch, without a saddle valve, and without a hole in your countertop. For a rental property, that is often the only route you can take without the landlord's permission. How that variant compares to a fixed system is explained in our post about osmosis water without connecting to the line.
Prefer not to go under the sink yourself?
With the subscription, we arrange the tap, system, filters, and installation in one go, for 29 euros per month.
View the subscription Osmosis without installationSix pitfalls that can derail an installation
- No available tap hole: the most common reason an appointment needs to be rescheduled. Drilling into granite, ceramic, or composite is the kitchen supplier's job, not the water technician's.
- Tapping into the hot water line: hot water damages the membrane. The connection should always be on the cold side, without exception.
- A fitting that isn't fully pushed in: quick-connect fittings can look secure while being a few millimeters short. Always double-check and use the locking clip.
- The drain line below the water seal: if the saddle clamp is placed too low on the siphon (trap), dirty water can back up into the hose. Always connect it above the water seal.
- An existing water softener that wasn't taken into account: a softener with a check valve can cause approximately 0.7 bar of pressure loss according to Evides, which noticeably lowers the membrane's output.
- Filters that aren't opened for the first time until a year later: a clogged pre-filter is the silent culprit behind "it's running so slowly." The maintenance cycle isn't a side issue; it's half the performance.
Rules and safety: NEN 1006 and backflow
Anyone changing their tap water installation has to deal with regulations. Drinking water quality in the Netherlands is laid down in the Drinking Water Act and the Drinking Water Decree, which the RIVM describes as the legal framework. For installations in your own home, the NEN 1006 standard also applies.
Vitens is clear about it: only buy a device with a quality certificate recognized by the Dutch state, ensure the correct backflow protection, and every modification to the installation must meet the principles of NEN 1006. That same water utility company honestly adds that filtering for health reasons is not necessary in the Netherlands. That is precisely why we at PureAqua never sell osmosis as a necessity, but as a choice for taste, limescale-free water, and no more lugging bottles around.
Backflow is the core of the safety issue. Evides treats the question of whether used water from a home can flow back into the water mains as a separate, serious matter. A properly installed osmosis system is protected against this, and connecting the drain line above the water seal is simply part of that. It is not complicated, but it is the one part where you shouldn't get creative.
For the sake of completeness: filtering in the Netherlands is a choice of convenience, not a correction for unsafe water. Our tap water is soft to moderately hard, according to Vitens averaging around 8 dH, and Waternet writes that we use as little chlorine as possible here, whereas chlorination is standard in many European countries. Where osmosis does make a difference is with substances like PFAS: the RIVM monitors these specifically in drinking water, and a well-functioning membrane filters out up to approximately 99 percent of dissolved solids.
After installation: flushing and maintenance
The installation is complete at the moment the system has been flushed, not when the last hose is attached. New carbon filters will give the first few liters a grayish haze. That is carbon, not a defect, and it will flush out. Drain the first tank and use it at most for your plants.
After that, it is all about rhythm. Pre-filters generally last six to twelve months, depending on your consumption and water quality. The membrane itself lasts considerably longer, provided those pre-filters are replaced on time: the membrane doesn't wear out due to time, but due to what the pre-filters let through. At PureAqua, we see that customers with a subscription almost never miss this rhythm, and that those who buy individual sets tend to go over by a few months on average.
A third point that surprises people: if you are away for longer than a week, let the system run for a moment upon returning home before drinking. Stagnant water in a filter line is never inherently wrong, but it can taste bland. Flushing it for half a minute solves that. More practical questions like this can be found on our page with frequently asked questions about water filters, and we explain the technology behind it on our how reverse osmosis works page.
Frequently asked questions
How do you install an osmosis system?
In eight steps: clear out the cabinet and shut off the cold water tap, install a branch connection with its own shut-off valve on the cold water line, place the system in the cabinet, mount the pure water tap in the worktop, connect the drain hose to the siphon using a saddle clamp above the water seal, push in and secure all quick-connect fittings, perform a ten-minute leak check under pressure, and finally flush it out before the first glass.
How long does an osmosis installation take?
At PureAqua, a standard installation takes 1 to 1.5 hours, including an explanation of use and maintenance. We ask you to clear out the base cabinet beforehand, as that saves the most time in practice. Doing it yourself for the first time can easily take half a day, especially because of the drilling and double-checking all the fittings.
Where is an osmosis system connected?
Under the sink, at three points: a branch connection on the cold water line between the angle stop valve and the kitchen tap, a saddle clamp on the siphon for the drain water, and a dedicated tap in the worktop. Hot water is never an option, because hot water damages the membrane. For a 1-way tap, a pre-drilled 12-millimeter hole is required.
Can you install a reverse osmosis system yourself?
Yes, with an installation kit and some DIY skills, it is possible. However, rules do apply: according to Vitens, every modification to your tap water installation must comply with the principles of NEN 1006, there must be proper backflow protection, and you should only buy appliances with a recognized quality certificate. If you are unsure about the connection or the drainage, let a professional do it.
What are the disadvantages of reverse osmosis?
Three points weigh in: drain water goes to the sewer, the system takes up space under the sink, and the membrane removes minerals alongside undesirable substances. The latter is a matter of taste and can be resolved with a mineral filter. By the way, you primarily get your minerals from food, not from drinking water.
What is the difference between osmosis and reverse osmosis?
In natural osmosis, water flows spontaneously from the side with fewer dissolved solids to the side with many. In reverse osmosis, you reverse that direction by applying pressure so that the water flows from the dirty side to the clean side, leaving the dissolved solids behind. That pressure comes from your water line.
How does reverse osmosis work?
Water line pressure pushes water against a semi-permeable membrane with extremely narrow pores. Water molecules pass through; most dissolved salts, metals, and organic compounds do not. The fraction that stays behind goes to the drain with the wastewater. A well-functioning system thus blocks up to approximately 99 percent of dissolved solids, including limescale, heavy metals, and PFAS.
Can I wash windows myself with osmosis water?
Yes, that is one of the best-known applications outside of drinking water. Because there are virtually no dissolved solids left, osmosis water dries without limescale spots, and you don't need to wipe it down. A household system under the sink produces enough for that, although the hourly yield is limited compared to professional equipment used by window cleaners.
Conclusion
Installing reverse osmosis is not a major plumbing task, but it is an intervention in your tap water installation that involves three connections: cold water in, drain water to the siphon, and pure water to a dedicated tap. Check the four conditions beforehand, and you'll know within five minutes if your kitchen is suitable. At PureAqua, the installation is done in 1 to 1.5 hours, with NSF/ANSI 58 as the standard for what comes out of the tap afterward.
Is there no tap hole, are you renting your home, or do you simply want to change nothing about your pipes? Then a countertop model is the shortest route to the same water. And if you want everything taken care of at once, installation is simply included with the subscription. Drink different, but with an installation that is correct.
Get your installation calculated in advance
Tell us your situation: space under the sink, tap hole, and water hardness. We will tell you what fits and what it costs.
Ask for free advice View the 4-in-1 tap